By Rejhan Kavazbasic · 7 min read · Updated 30 October 2026
Starting a home studio on a budget
USB or XLR microphone, what an audio interface and phantom power do, where a MIDI keyboard fits in and how to listen while you record.
What you need to start
A home studio can be small: a computer, recording software, something to record with and something to listen on. Free software is enough to begin with, such as GarageBand on a Mac or iPad, or the free versions of other recording programs.
- A microphone for vocals, speech or acoustic instruments.
- A MIDI keyboard if you want to play software instruments such as piano, synths or drums.
- Closed headphones or IEMs to listen while you record.
- An audio interface, but only if you choose an XLR microphone.
Start with what you'll actually use. A podcast needs a different setup from making beats.
USB microphone or XLR microphone
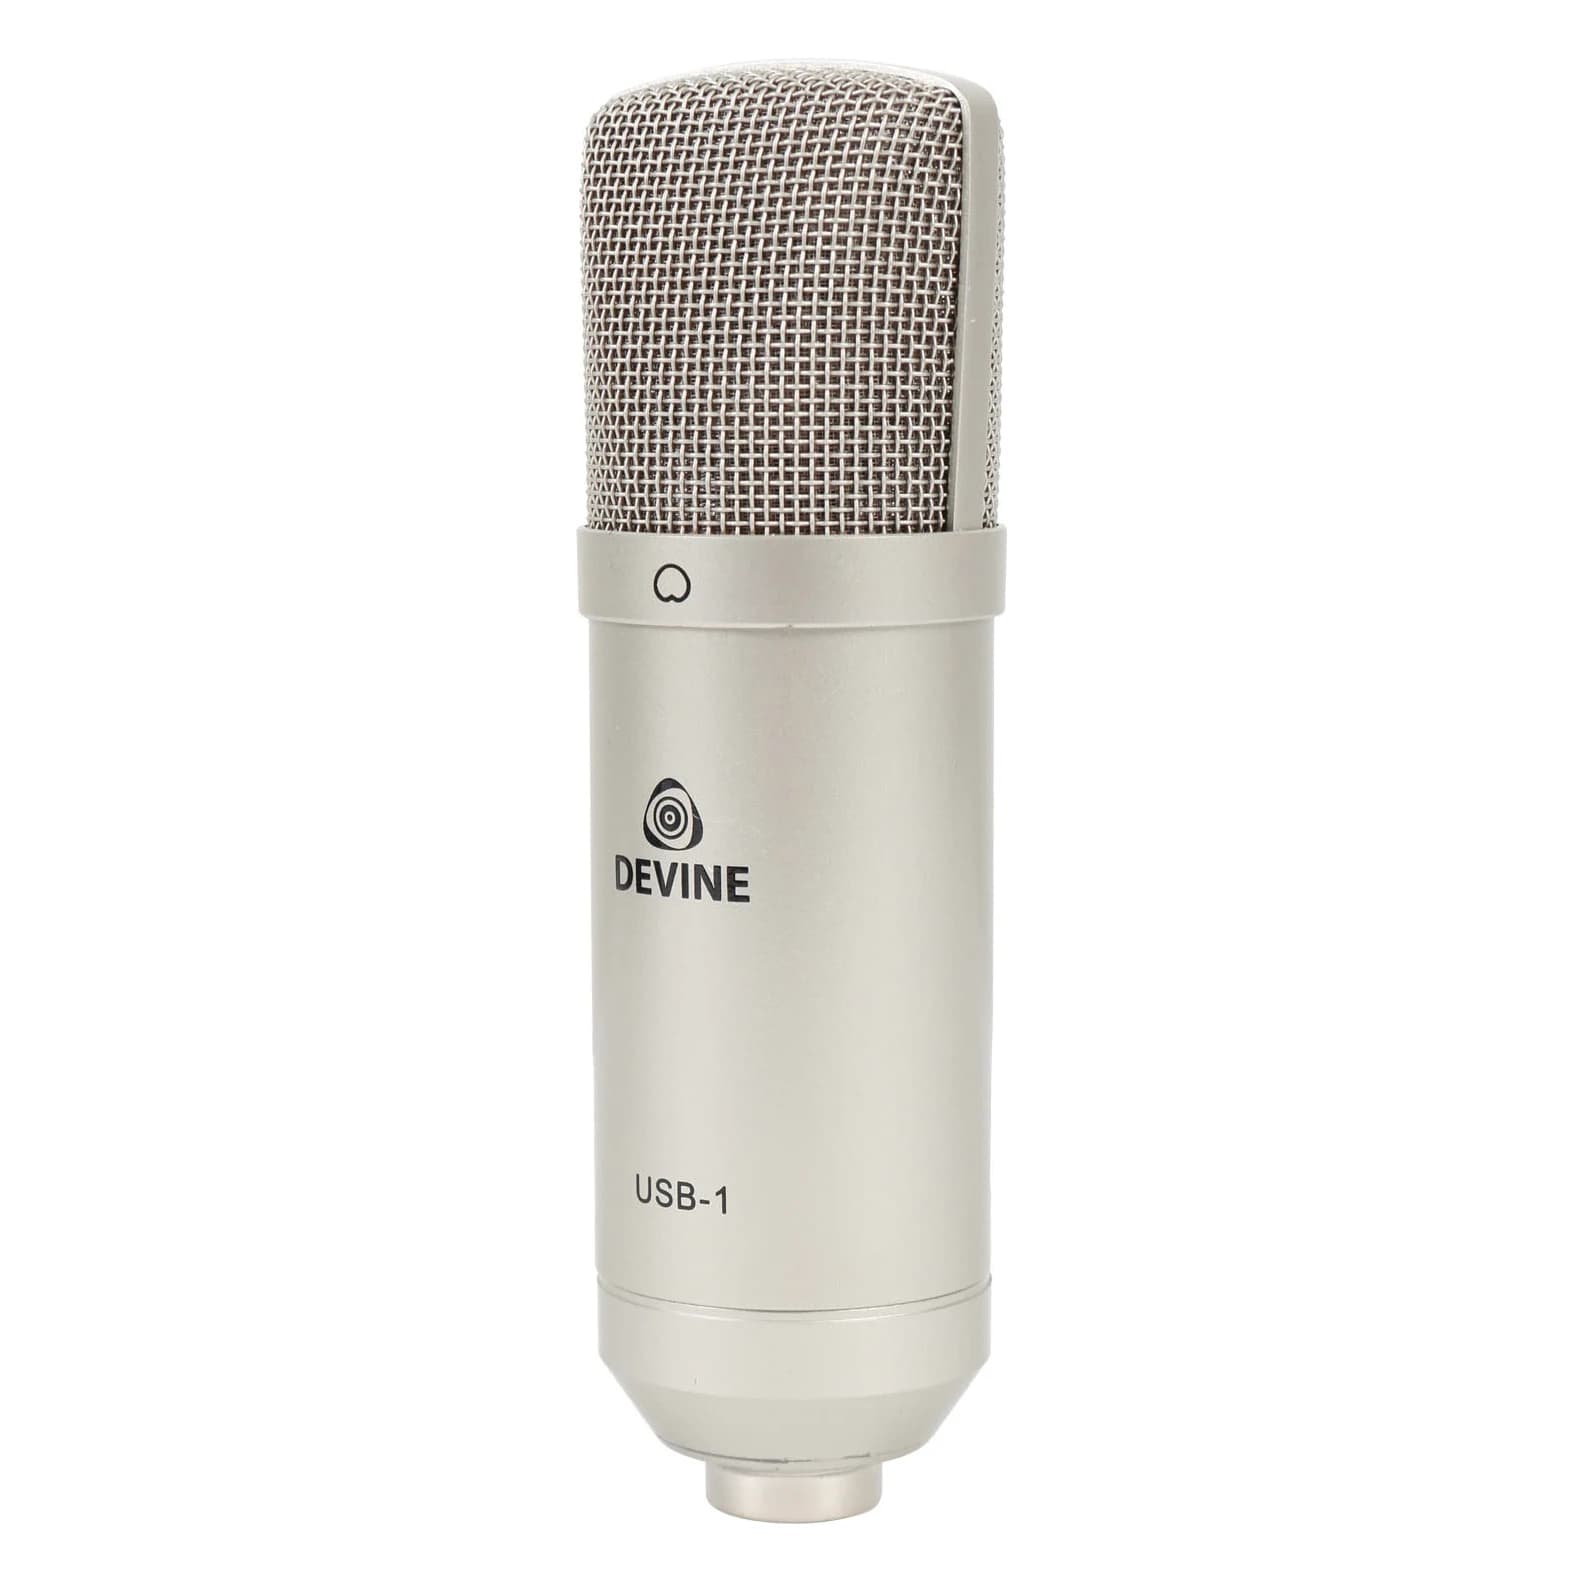
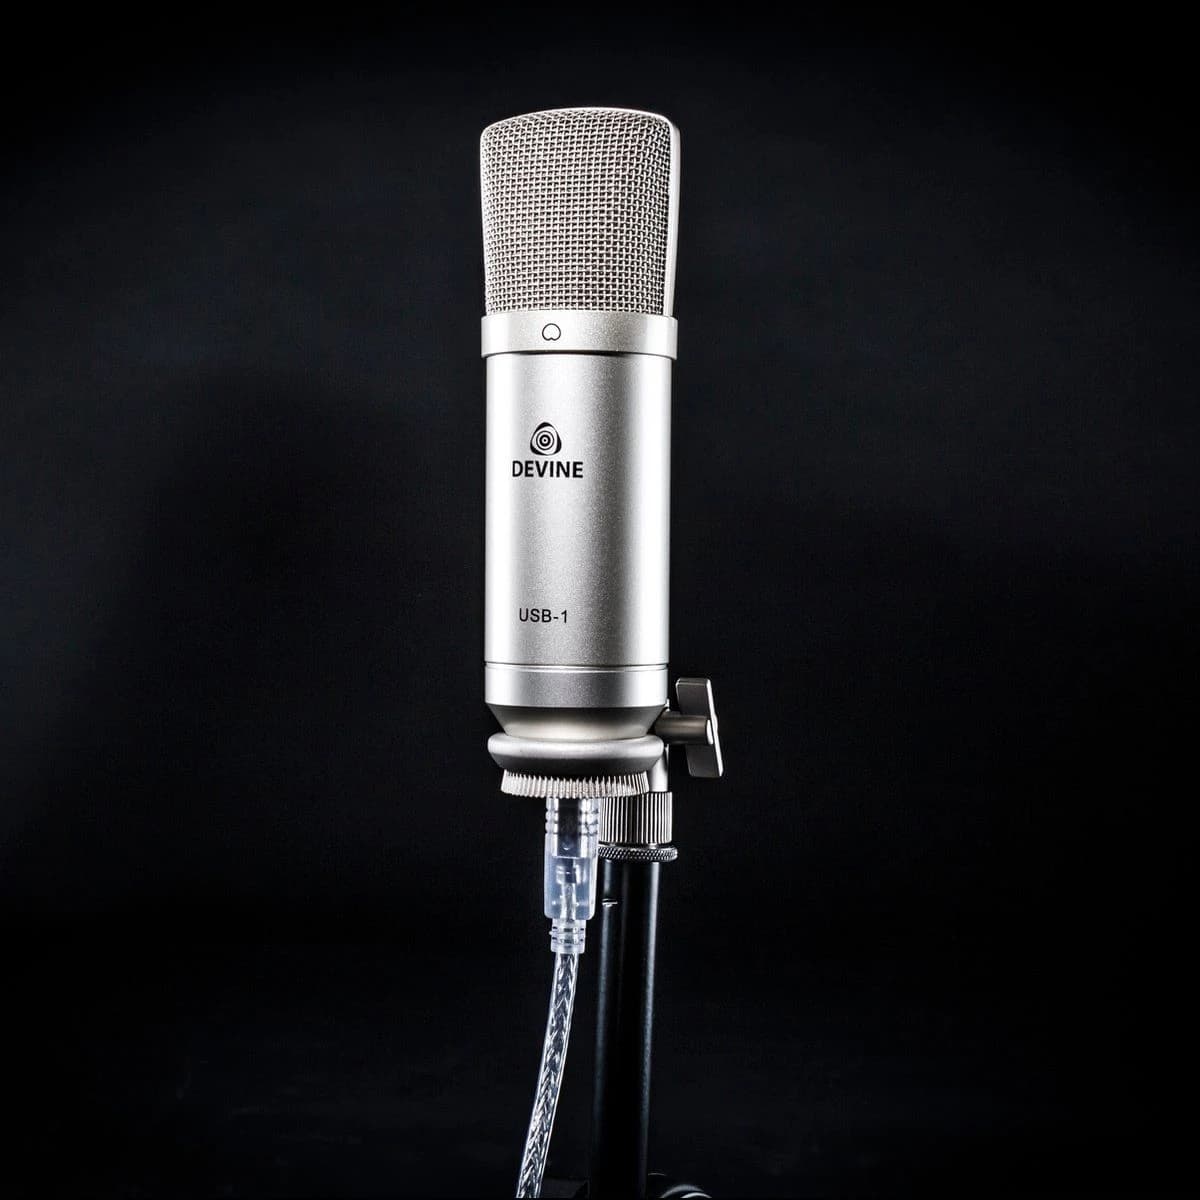
A USB microphone has the converter built in. You plug it into your computer and it shows up as a sound input, no drivers needed. The Devine USB-1 works like that: a cardioid condenser microphone, with a holder and a USB cable in the box.
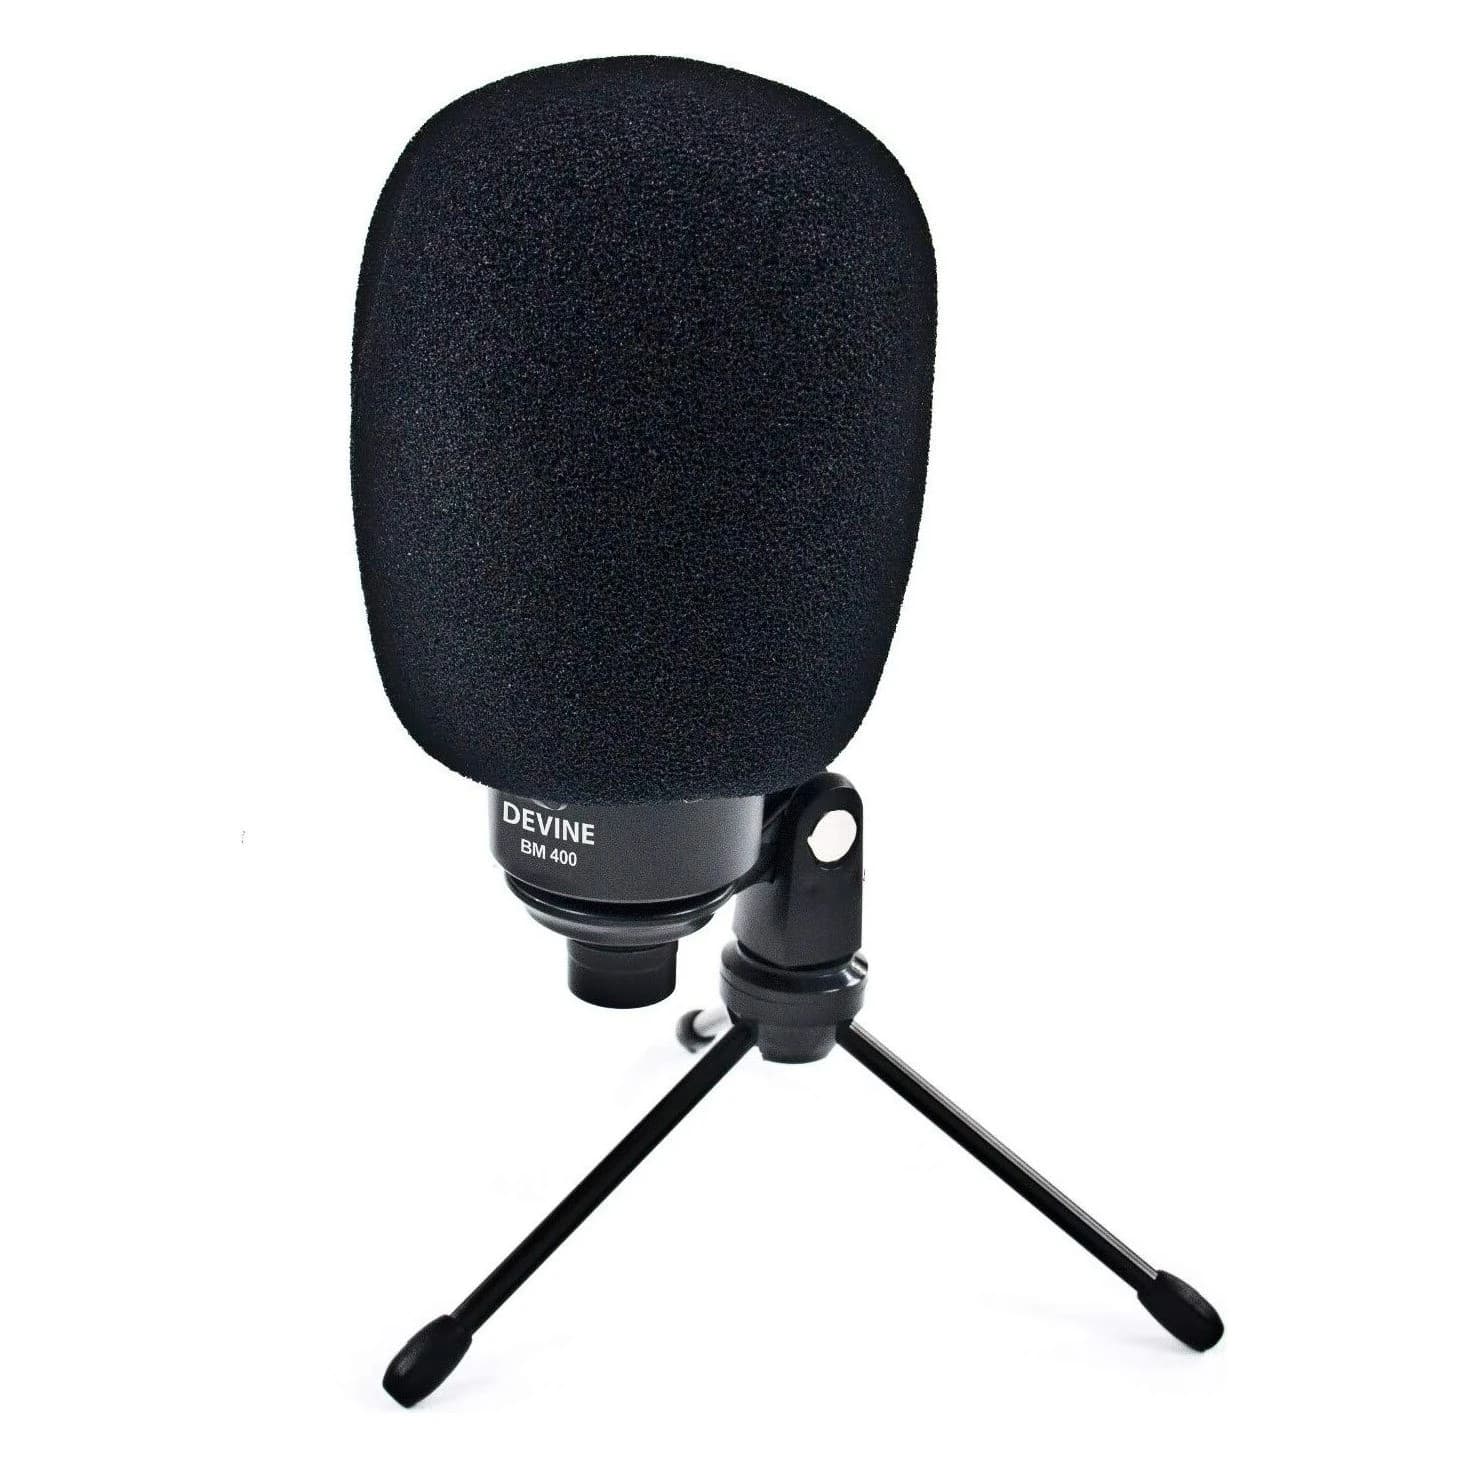
An XLR microphone sends an analogue signal over a three-pin XLR cable. Your computer can't take that directly. The signal goes into an audio interface first, which amplifies it and converts it to digital. The Devine BM-400 is a large-diaphragm condenser of that kind. It comes with a tabletop stand, a foam windscreen, a 3 m XLR cable and a case.
| USB microphone (Devine USB-1) | XLR microphone (Devine BM-400) | |
|---|---|---|
| Connects to | A USB port on your computer | An audio interface or mixer |
| Extra gear | None | Interface with an XLR input and 48 V phantom power |
| Type | Condenser, cardioid | Large-diaphragm condenser, cardioid |
| Setup | Plug in and record | Cable to the interface, switch on phantom power |
| Upgrading later | You replace the whole microphone | You swap the mic or the interface separately |
| Good for | Podcasts, voice-overs, first demos | Vocals and acoustic instruments, a setup that can grow |
The USB-1 comes with a USB A to B cable. If your laptop only has USB-C ports, you'll need an adapter or a USB-C to USB-B cable.

Phantom power and audio interfaces
A condenser microphone needs power for its electronics. A USB mic gets it over USB. An XLR condenser gets it as 48 V phantom power: a voltage the interface sends back up the same XLR cable. You switch it on with a button on the interface, usually marked 48V or +48V.
That's why the BM-400 stays silent when you plug it into a computer, or into an interface or mixer without phantom power.
What to look for in a first audio interface:
- At least one XLR input with a switch for 48 V phantom power.
- A headphone output with its own volume knob.
- Direct monitoring: a switch or knob that sends the mic straight to your headphones, without a detour through the computer.
- Power over USB, so you don't need a separate power adapter.
Switch on in the right order
Plug in the mic with the gain all the way down, then switch on 48 V, then turn up the gain. Switch phantom power off before you unplug the cable. That way you avoid loud pops in your headphones.
A MIDI keyboard for software instruments
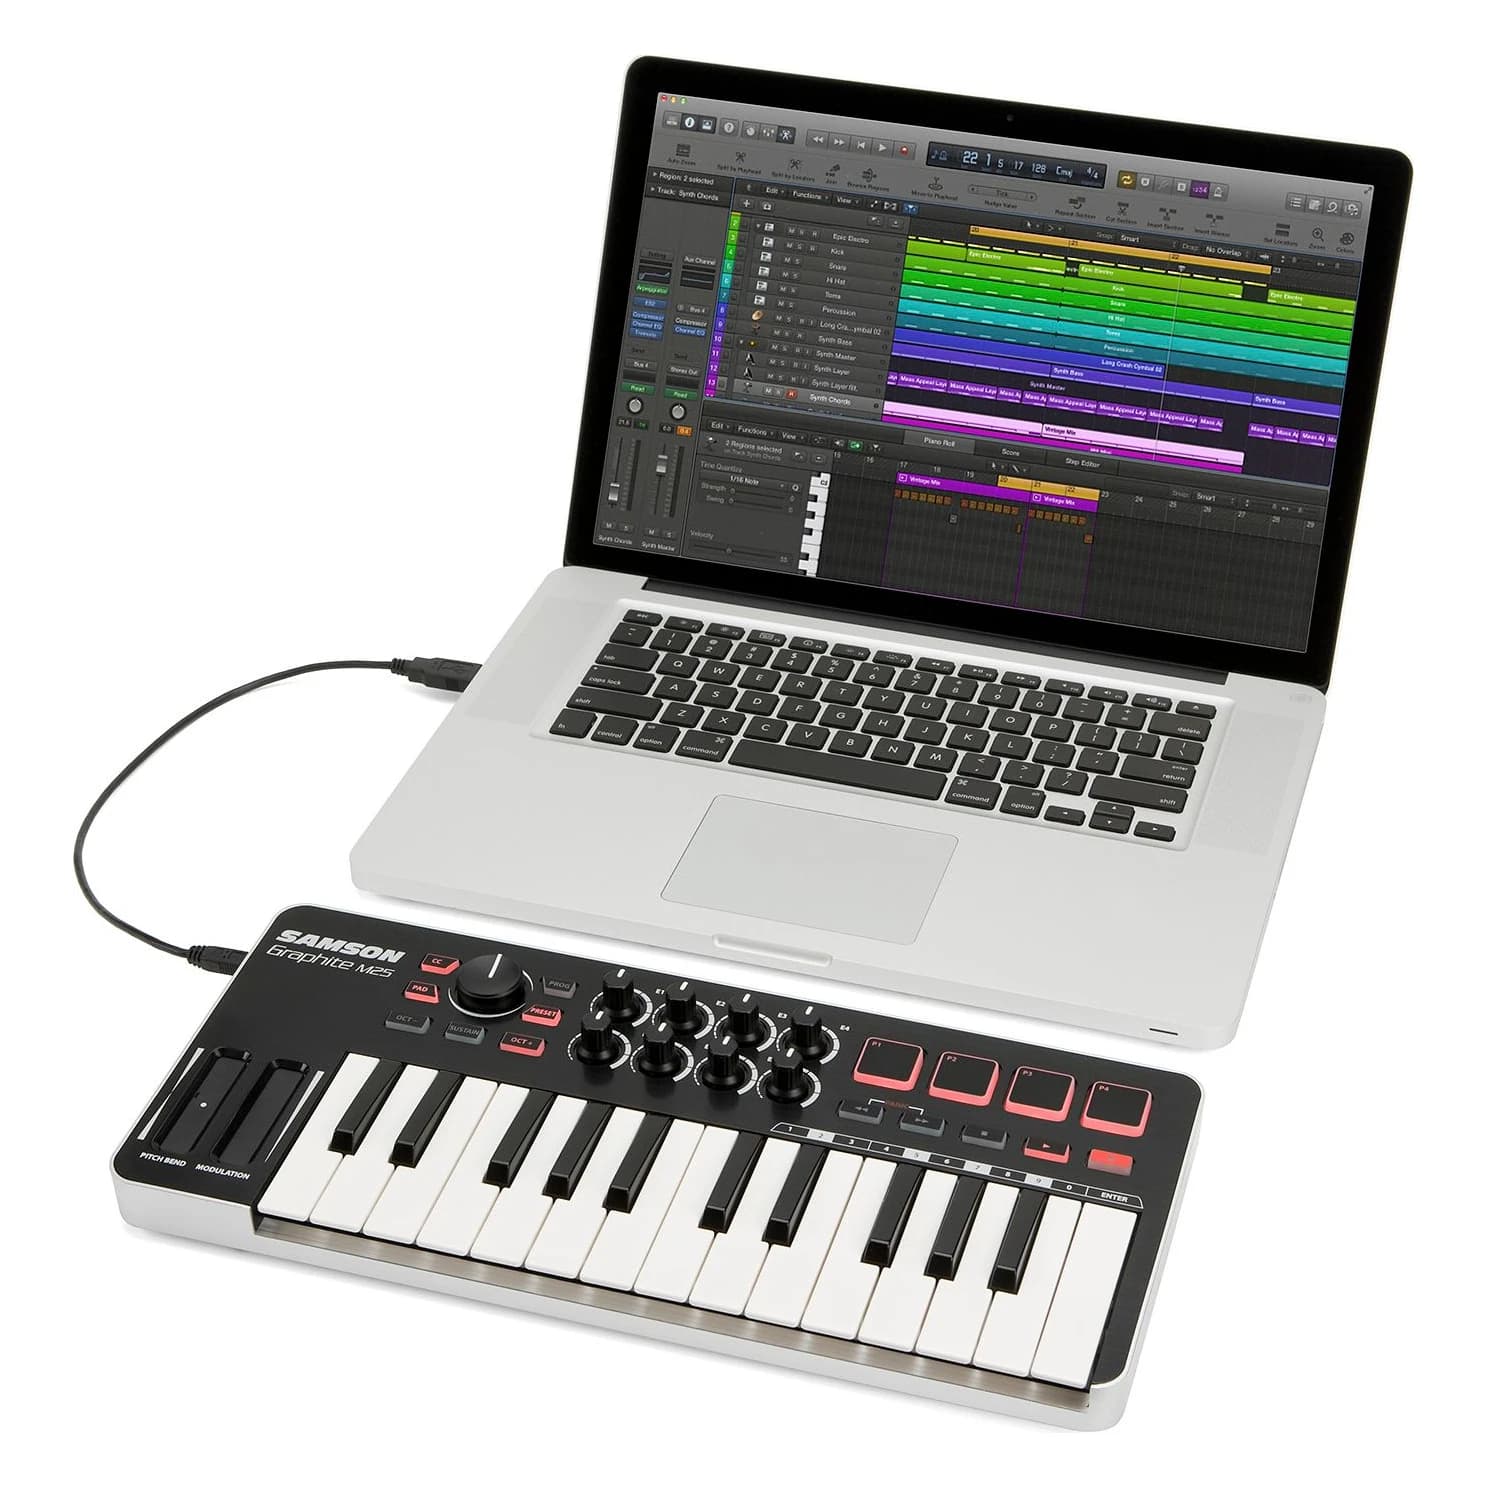
A MIDI keyboard makes no sound by itself. It sends notes and control data to your software, which plays the instrument: piano, strings, synths or drums. You need software with instruments, but no extra audio gear.
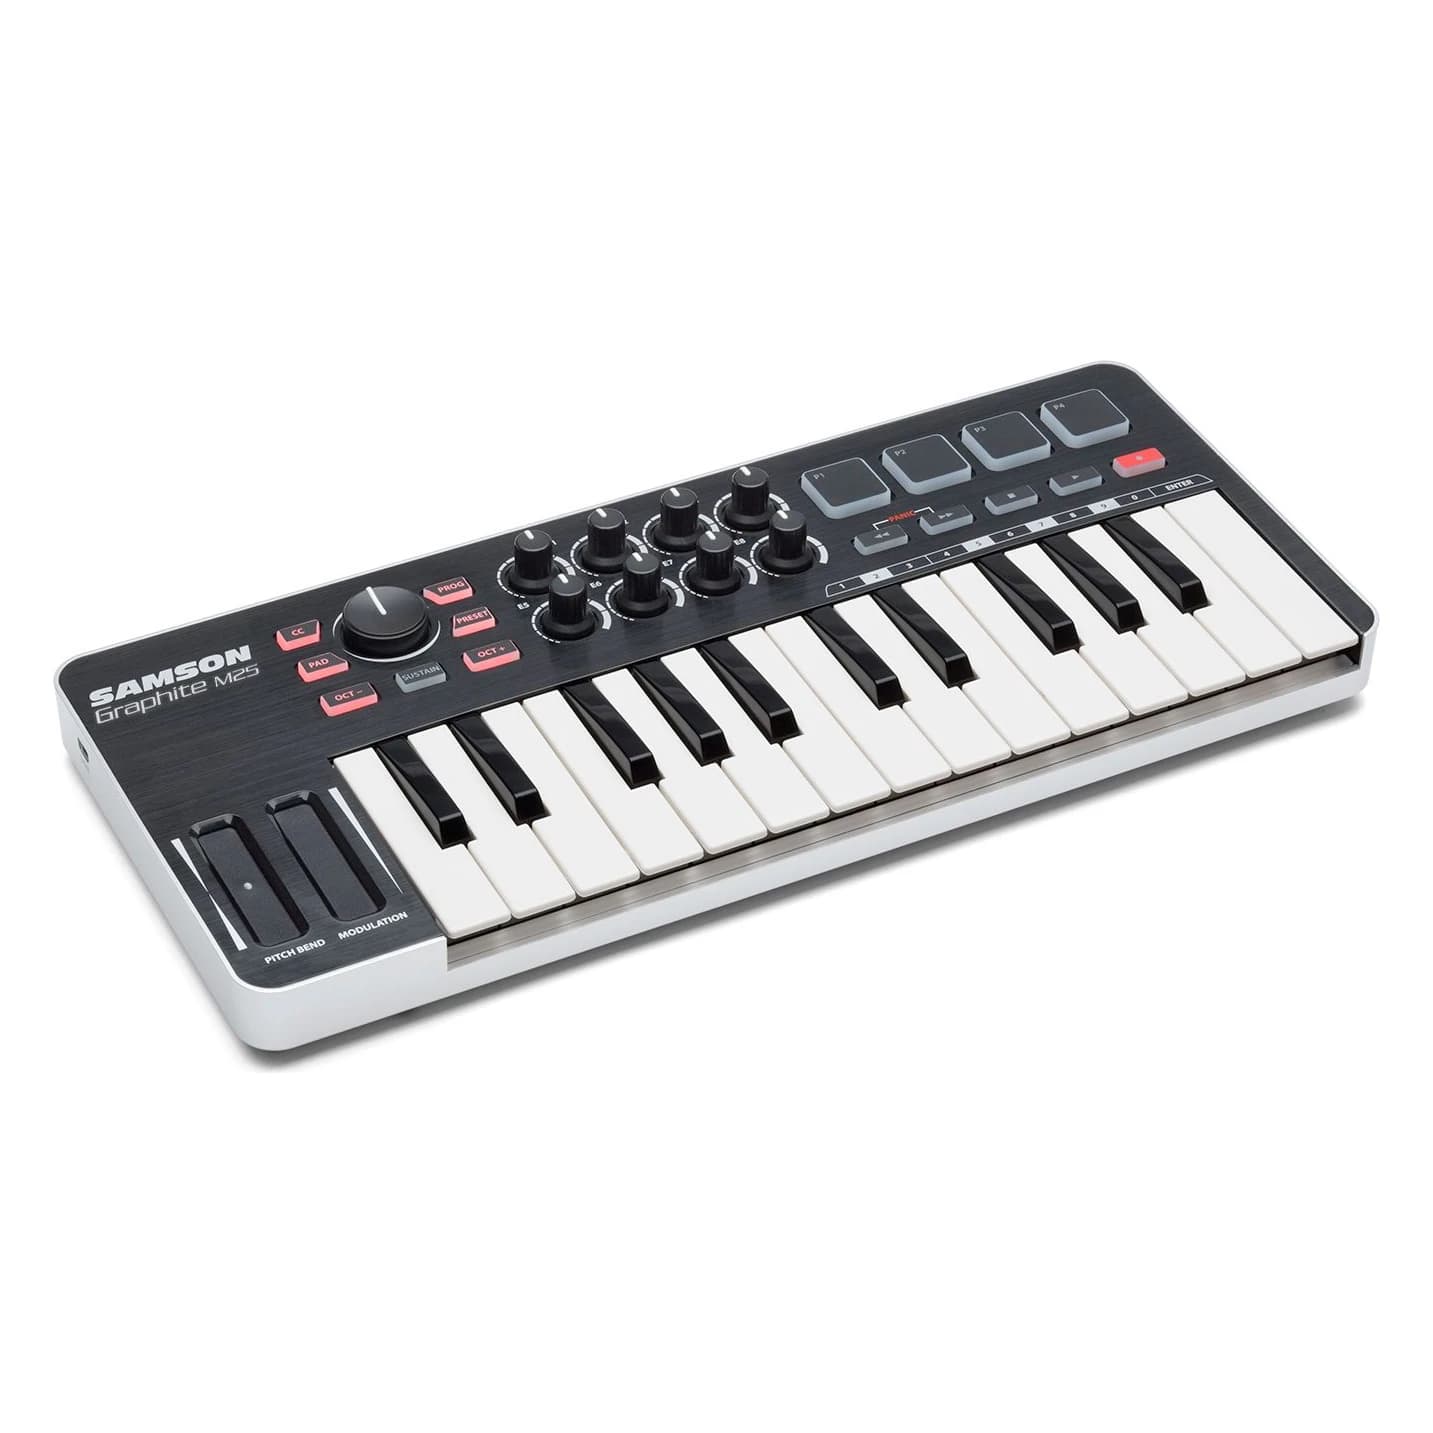
The Samson Graphite M25 is a compact example. It has 25 velocity-sensitive mini keys, so how hard you press decides how loud a note sounds. It also has four pads with aftertouch for drums, eight assignable knobs for mixer and plug-in settings, and transport buttons for play and record. Octave buttons shift the keys up and down, and a Sustain button replaces a pedal. It runs on USB power, so one cable to your computer is enough. On an iPad you'll need an adapter for your iPad's port.
The trade-off of 25 mini keys: fine for bass lines, melodies and chords, and it fits on a desk next to your laptop. To practise piano with both hands, you want a bigger keyboard with full-size keys.
Listening while you record
When you record vocals, you hear the backing track and yourself through headphones. Open headphones and speakers leak sound, and the microphone picks that up. Closed headphones and IEMs keep it in.
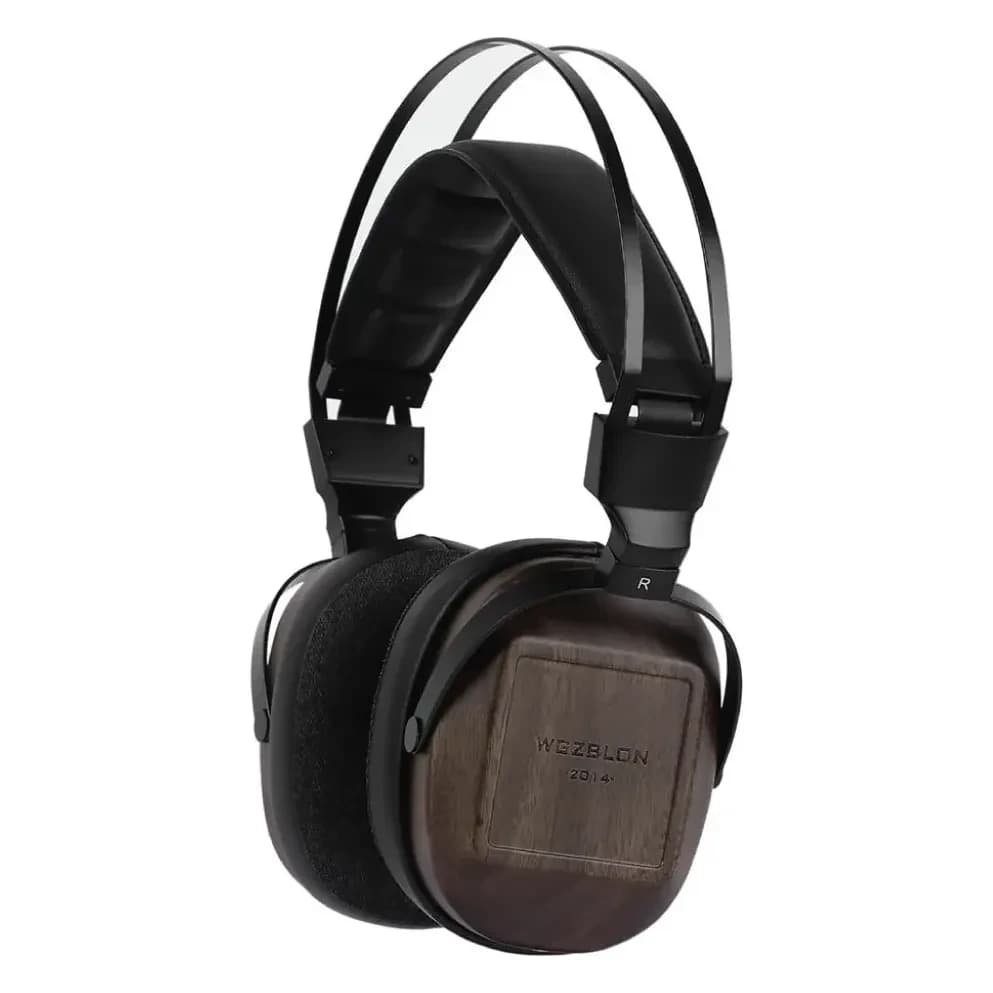
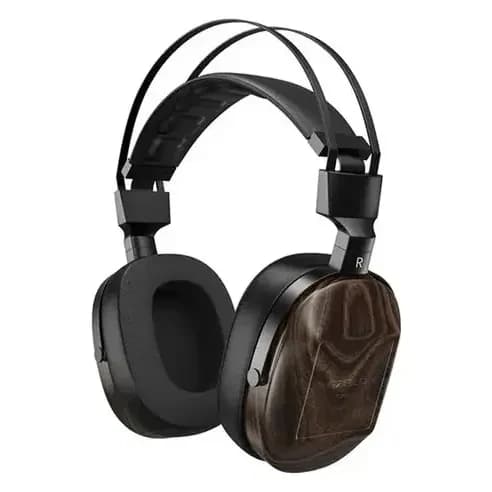
- Closed over-ears like the WGZBLON B60, with 50 mm drivers, 32 Ω and a 1.5 m cable, are easy to drive from an interface or laptop.
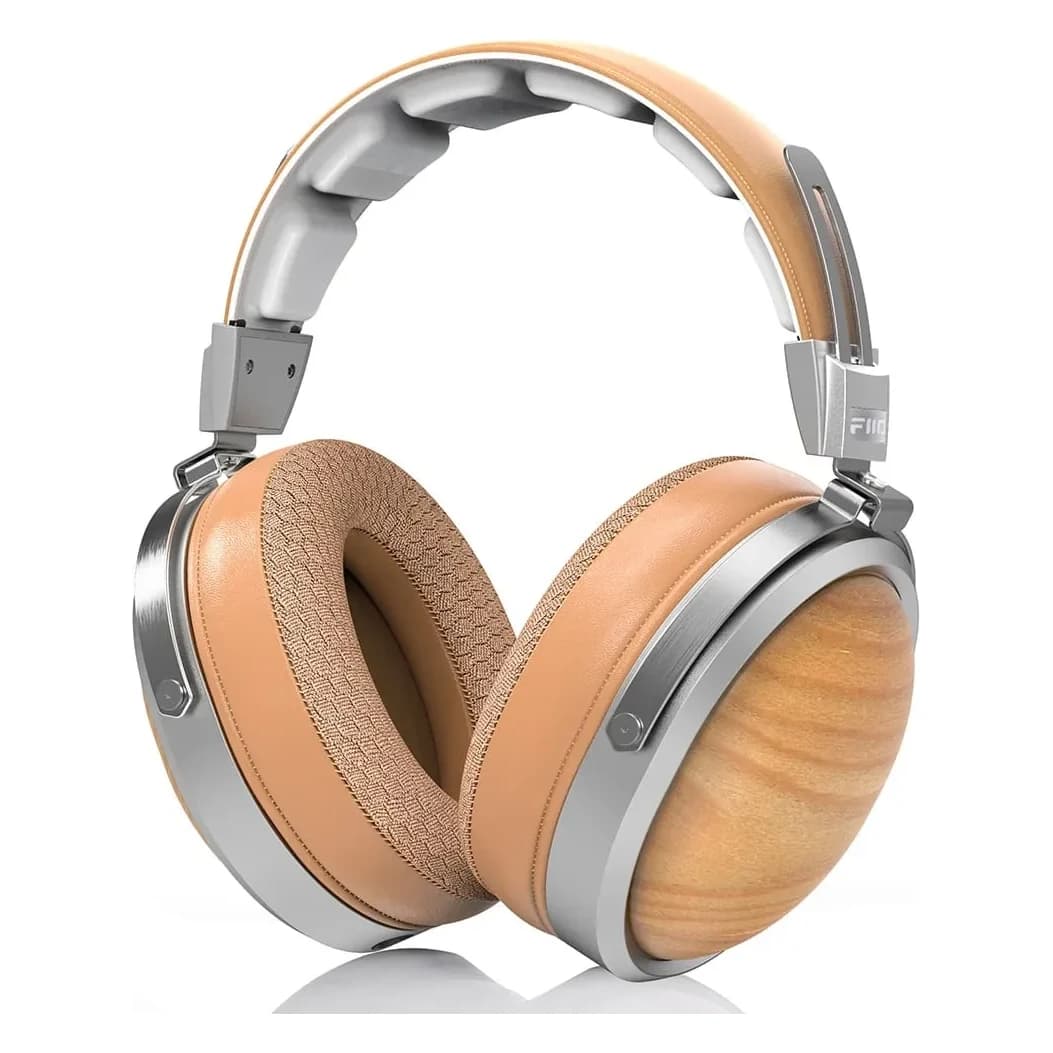
- The FiiO FT1 is another closed-back option, with 60 mm drivers and 32 Ω. It comes with a 3.5 mm cable, a 4.4 mm balanced cable and a 3.5 to 6.35 mm adapter.
- IEMs isolate even better and leak almost nothing, handy when you sing close to a sensitive condenser.
- Many interfaces have a 6.35 mm headphone output. For headphones and IEMs with a 3.5 mm plug, you'll need a 3.5 to 6.35 mm adapter.
Then there's latency: the delay between singing and hearing yourself. If your voice goes through the computer, it's delayed by the buffer of your recording software. At 48 kHz a buffer of 128 samples is about 2.7 ms, at 1024 samples it's over 21 ms, and you get that delay on the way in and again on the way out. From around 10 ms, many singers find it distracting. If your USB mic has no headphone output of its own, you always listen through the computer, so the buffer matters even more.
Low delay while recording
Set the buffer to 128 samples or lower while you record and raise it again when you mix. If your interface has direct monitoring, use it: you hear the mic without delay. Don't monitor over Bluetooth. With 100 ms or more of delay, singing in time is almost impossible.


Make your room sound better
Hard, empty rooms add echo to every recording, and it's hard to remove later. A few simple changes often help more than a more expensive microphone.
- Record in the room with the most soft things in it. A bedroom with a bed, curtains and a full wardrobe works better than a kitchen or a bare attic.
- A cardioid mic picks up what's in front of it: you, and the wall behind you. Hang a duvet or a thick blanket behind you.
- Keep a metre or so away from walls and corners if you can.
- Sing or speak at 10 to 20 cm from the mic, and use the foam windscreen or a pop filter against hard P and B sounds.
- Switch off what hums: a fan, an air purifier, a laptop working hard right next to the mic.
Set your recording level so the loudest parts peak around -12 dB on the meter. That leaves room for a loud note without distortion.